Japan's Qualified Invoice in Ori
Does Ori print a qualified invoice?
Ori prints the qualified-invoice (適格請求書) items on invoices, receipts and delivery notes once your registration number (登録番号) is saved in Settings → Tax & compliance: your name and number, the recipient, the date, reduced-rate items marked ※ on Japanese designs, and totals and tax for 8% and 10%. It checks only the number’s format and takes each rate from Shopify.
Every design prints these items by default. What the law asks of a qualified invoice is in how to issue Japan’s qualified invoice on Shopify.
Where do I enter my registration number?
You enter your registration number in Ori under Settings → Tax & compliance, in the Qualified invoice settings card, or in the Invoice registration step of Initial setup.
- In Ori, open Settings and choose the Tax & compliance tab.
- In Qualified invoice settings, check that Invoice rules is set to Japanese qualified invoice.
- In Registration number, enter “T” followed by your 13 digits. Ori converts full-width characters and removes spaces and hyphens.
- Save. The card shows ✓ Set.
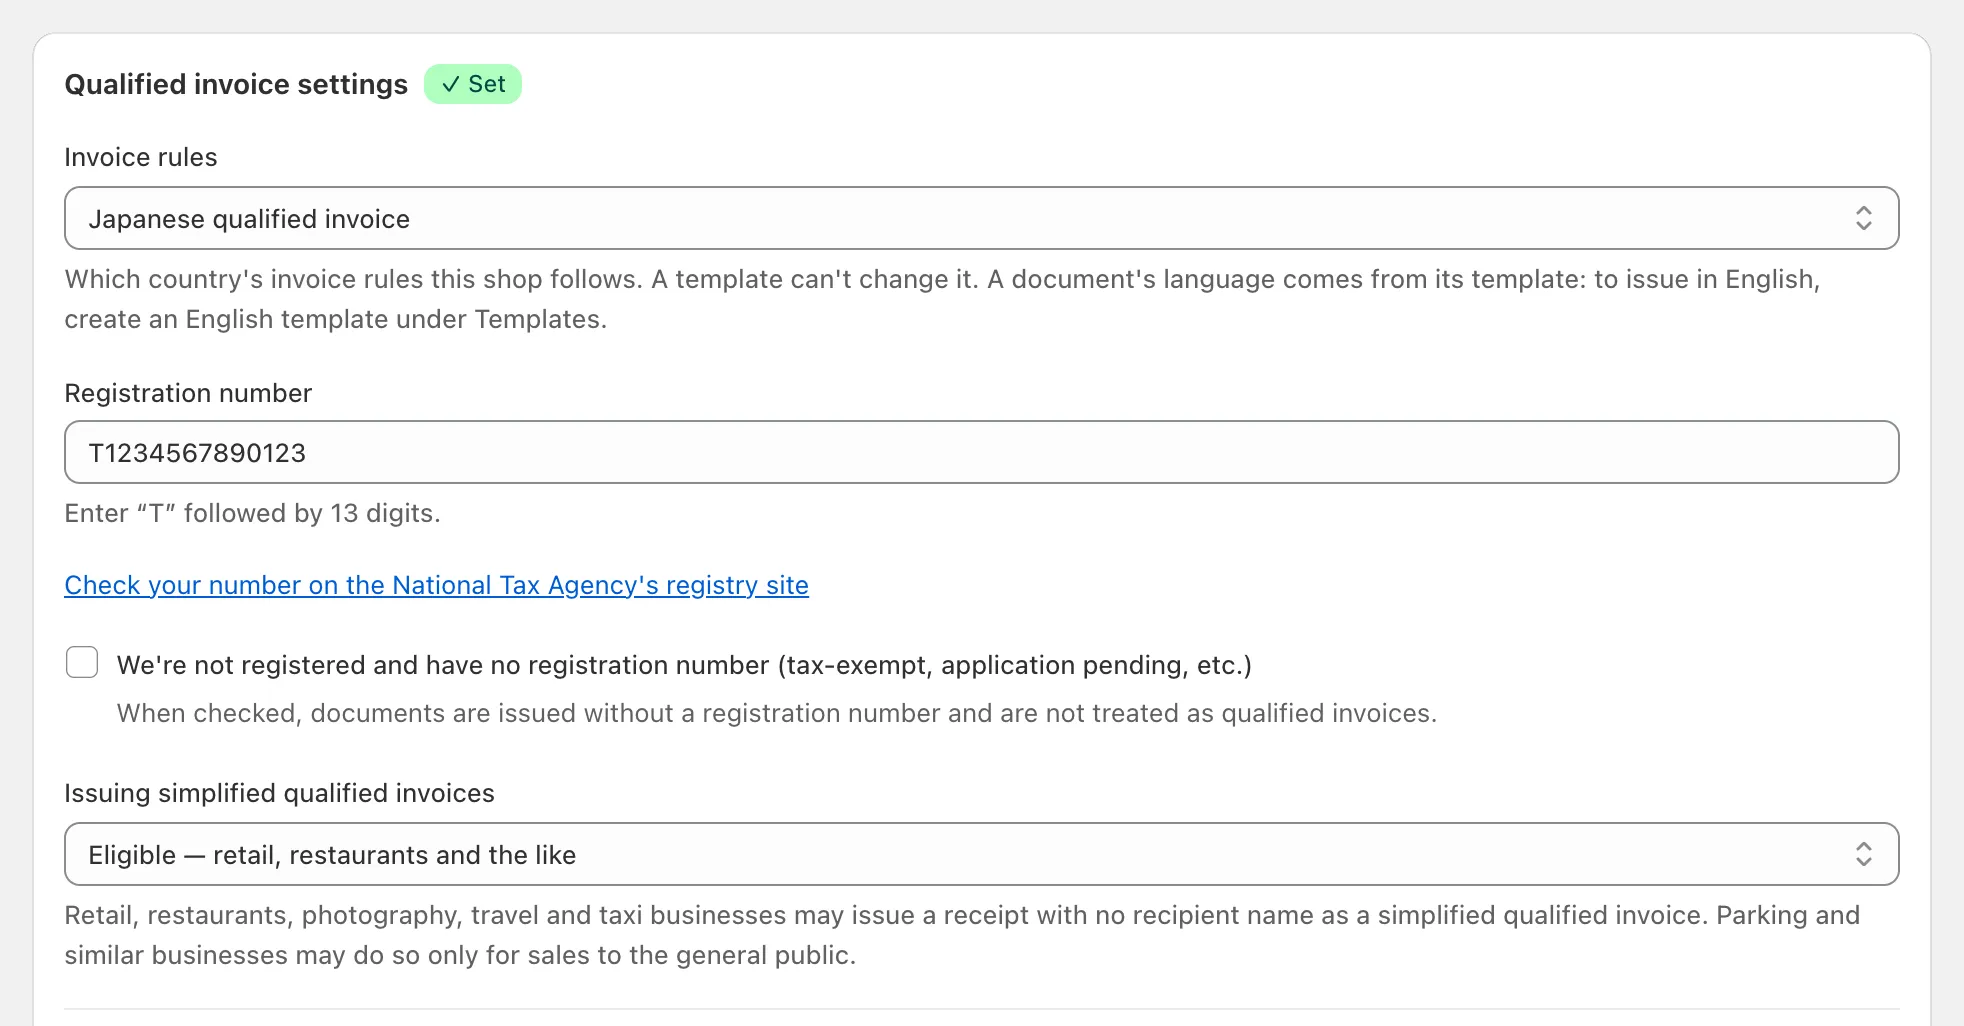
Ori doesn’t look the number up, so a mistyped digit prints without a warning: confirm yours once with Check your number on the National Tax Agency’s registry site, the link under the field. Until a number is set, or you say you’re not registered, Home shows Invoice registration number is not set. Documents already issued keep the number they printed.
What if I’m not registered?
If you’re not registered, tick We’re not registered and have no registration number (tax-exempt, application pending, etc.) in Qualified invoice settings. Documents are then issued without a registration number and are not treated as qualified invoices.
Your business details, the line items and the totals and tax for each rate still print. When your number arrives, untick the box and enter it. Documents issued before then don’t change.
Which documents carry the qualified-invoice items?
Invoices, receipts and delivery notes carry the qualified-invoice items when your registration number is set. Quotations and purchase orders don’t.
| Document | Qualified-invoice items | Recipient |
|---|---|---|
| Invoice | Printed | Named (“Invoices require a recipient name.”), unless its design has Allow the recipient to be omitted on (eligible shops only) |
| Receipt | Printed | Named, or left blank (see the next section) |
| Delivery note | Printed | Named, or left blank (see the next section) |
| Quotation | Not printed | — |
| Purchase order | Not printed | — |
On Japanese designs:
- Reduced-rate items carry ※, with the note 「※印は軽減税率(8%)対象品目です。」 under the tax breakdown. A design in another language prints each line’s rate in a column instead.
- Dates can print in the Japanese era (令和) as well as with Western years, set in the design’s Issue-date format.
- Negative amounts are marked with △ rather than a minus sign.
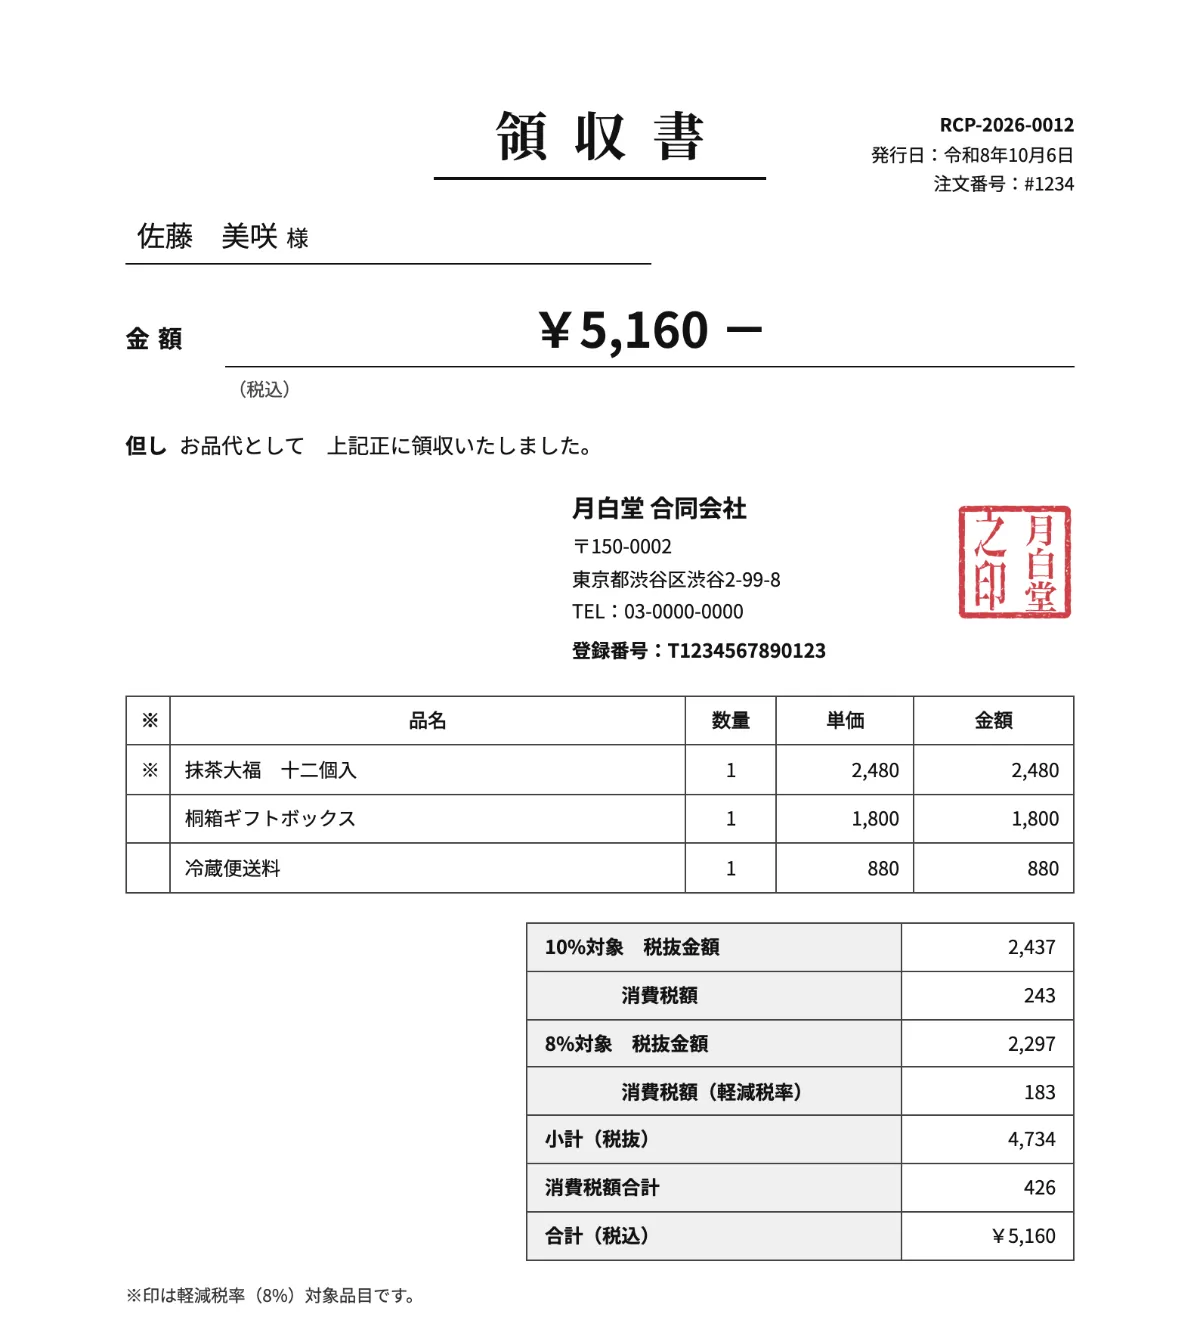
What does a receipt with no recipient name print?
A receipt with no recipient name prints as a simplified qualified invoice (適格簡易請求書) when Issuing simplified qualified invoices is set to Eligible — retail, restaurants and the like. When it’s set to Not eligible — wholesale and the like, a receipt with no name isn’t a qualified invoice.
The setting sits under Registration number, and a delivery note with no recipient follows it too. The issue dialog reminds you: “Left blank, a receipt is issued without a recipient name — as a simplified qualified invoice.” Ori treats a receipt addressed to 上様 as blank.
If a business customer later asks for its company’s name on a receipt, void the receipt and issue a new one with the name, which takes a new number. Ori’s Reissue prints a receipt again unchanged. If you allow it, the customer can instead reissue their own receipt with the name on the order status page, and it keeps its number (reissue, void and refunds in Ori).
How does Ori get the 8% reduced rate?
Ori takes each line’s tax rate from the tax Shopify charged on the order, so the 8% rate comes from your Shopify tax settings, not from Ori: “Per-product tax rates (8%/10%) are set in Shopify’s tax settings. Ori totals the tax per rate from each order.”
- Only a line taxed at exactly 8% counts as reduced-rate and gets ※.
- A line Shopify sent with no tax lines prints “Not taxable” (対象外 on a Japanese design).
- A line whose tax lines give no rate uses Default rate when none can be determined: 10% (standard rate) or 8% (reduced rate).
Ori can’t tell when food is being charged 10%. On Home, the Reduced tax rate line reads ✓ Not applicable (standard rate only) until Ori has issued a document with an 8% line, then Not reviewed yet until you tick I have reviewed the reduced-rate settings, then ✓ Reviewed. None of the three means your rates are right: set the 8% reduced rate in Shopify, then check an order.
How are tax display and rounding set?
Tax display and rounding are store-wide settings under Reduced tax rate defaults in Settings → Tax & compliance. A design can’t change them.
- Tax display: Tax-inclusive prices or Tax-exclusive prices.
- Rounding method: Round down, Round half up or Round up.
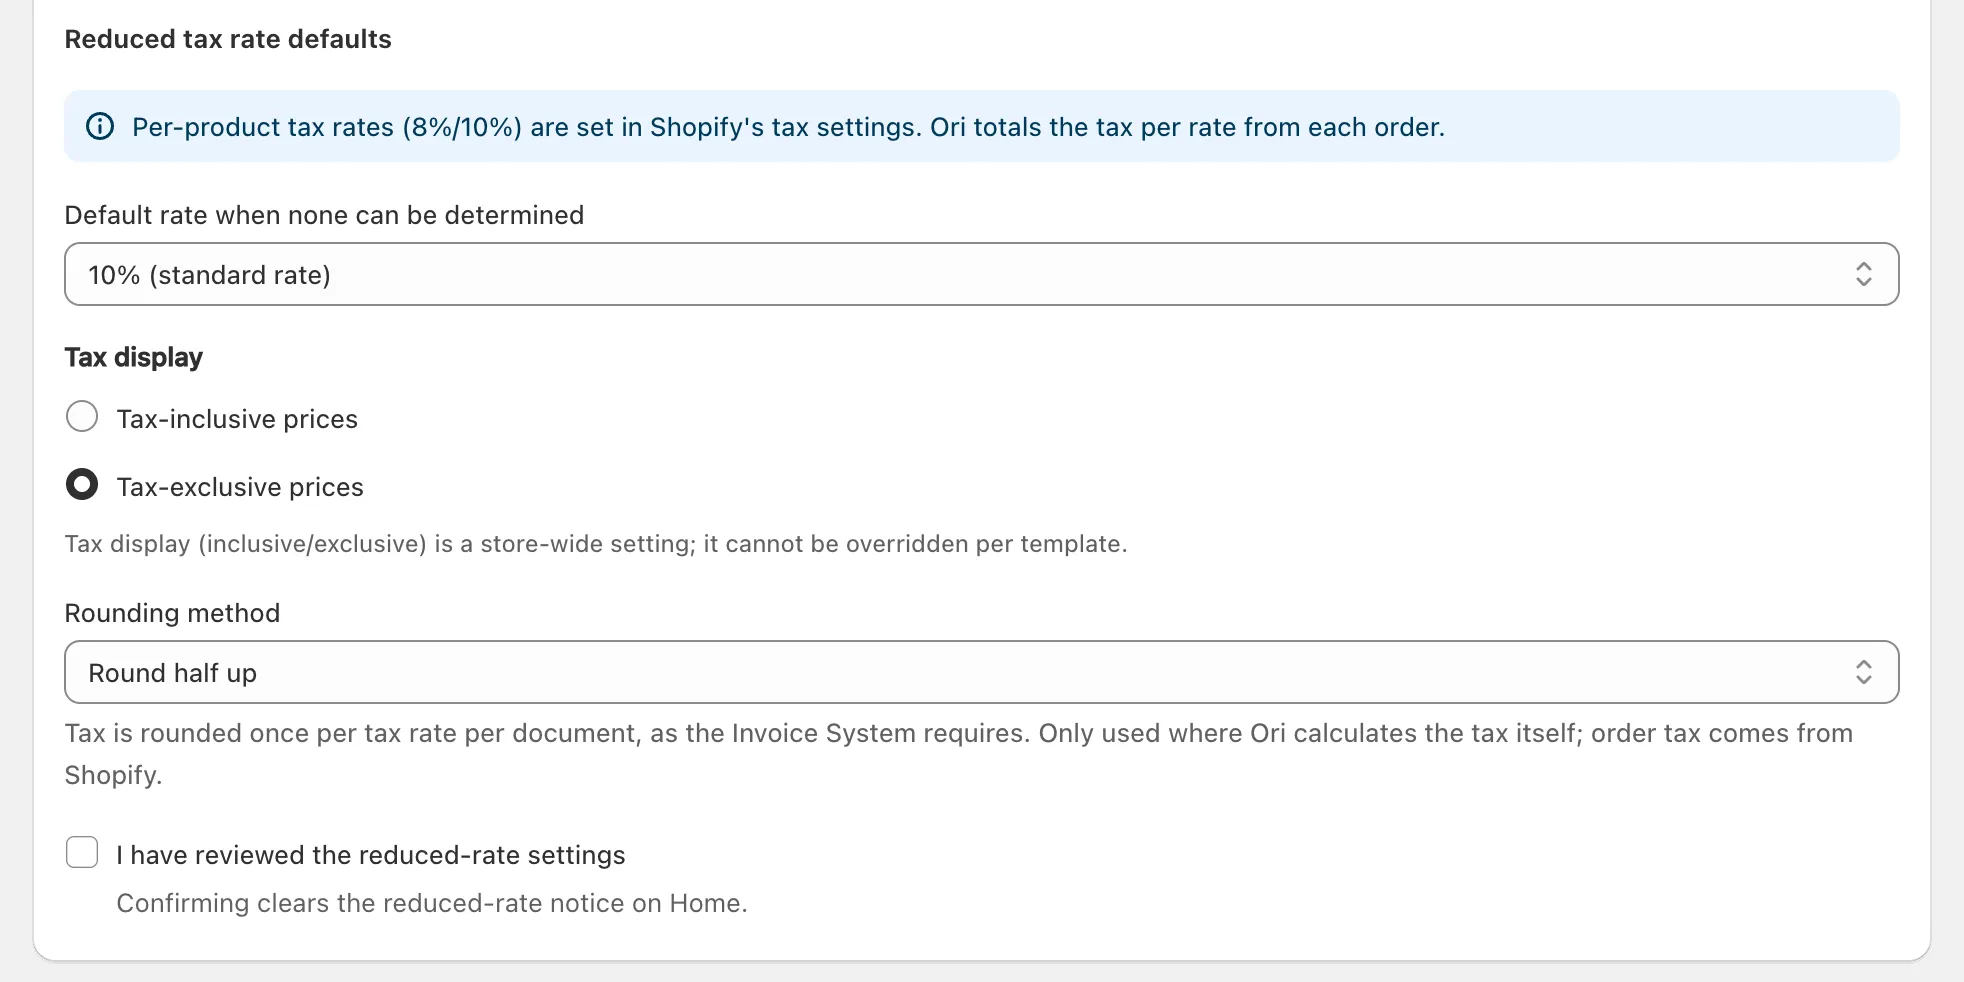
Ori works out the consumption tax once for each rate on each document, from that rate’s total, with your rounding method. If the result differs from the tax Shopify charged, the document adds a rounding-difference row, so its total still matches what the customer paid.
What does the Qualified-invoice check show?
The Qualified-invoice check is a card in the template editor that shows whether a design prints every qualified-invoice item. Open it from Templates by choosing Edit on a design.
- Prints every item: the design shows all of them.
- Simplified qualified invoice: the design leaves out the recipient or the tax per rate, which your shop’s eligibility allows.
- Not a qualified invoice: an item is hidden. The card lists each one, such as Registration number or Totals per rate, with a Show button that puts it back.
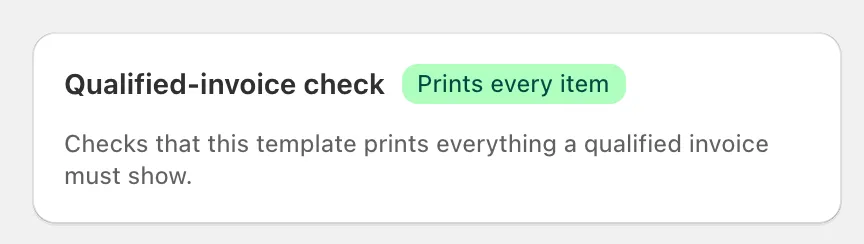
Switching one of these elements off warns “Off, this template no longer makes a qualified invoice.”, and saving asks you to confirm with Save anyway. The check reads the design only. It doesn’t check your registration number, the rates Shopify charged or what you sold.
