Connect OpenAI Ads (ChatGPT Ads) to cPixel
How do I connect OpenAI Ads to cPixel?
In OpenAI Ads Manager, open Tools, then Conversions: the Pixel ID is printed under your data source on the Data Source tab, and the key icon in the page header creates a Conversions API key, shown only once. Paste both into cPixel, which then sends checkouts and purchases to ChatGPT Ads from its servers.
Paste them into cPixel
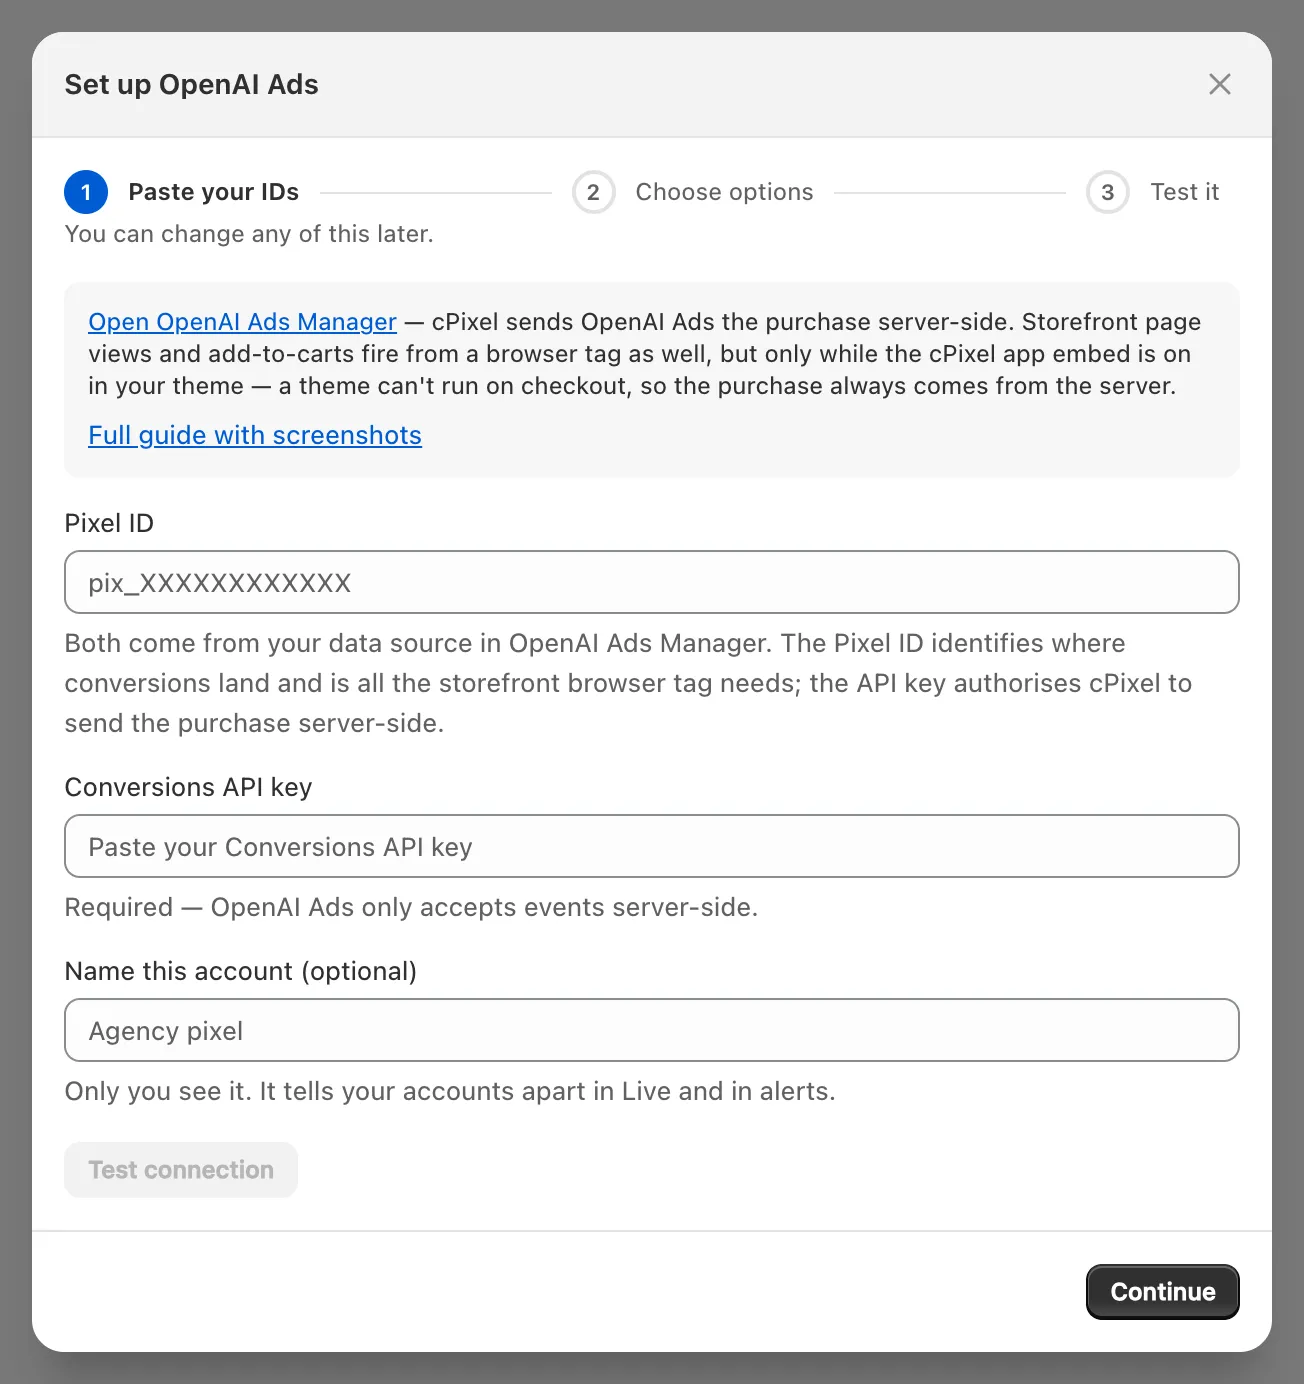
- In cPixel, open Destinations and click the OpenAI Ads icon under Connect a platform. Set up OpenAI Ads opens on Paste your IDs.
- Paste the Pixel ID (where to find it) and the Conversions API key (how to create one); both are required. Name the account under Name this account (optional) if you like.
- Click Test connection. OpenAI validates a test event without recording it, so Your credentials reach this account confirms access, not delivery.
- Click Continue. On Choose options, keep Send events from the browser and Send events from our servers ticked, answer Is the official OpenAI Ads app also installed? (below) and click Save and continue. Test it confirms OpenAI Ads is connected.
Important: OpenAI’s own ChatGPT Ads app for Shopify also sends your store’s events to an OpenAI pixel. Two senders give one order two event IDs, and OpenAI keeps both. Give each tool its own Pixel ID, or answer Yes — keep it, and cPixel stops sending OpenAI Ads server-side, which, despite its label, stops cPixel’s browser and server sends to that pixel (one sender per pixel).
Where do I find my OpenAI Ads Pixel ID?
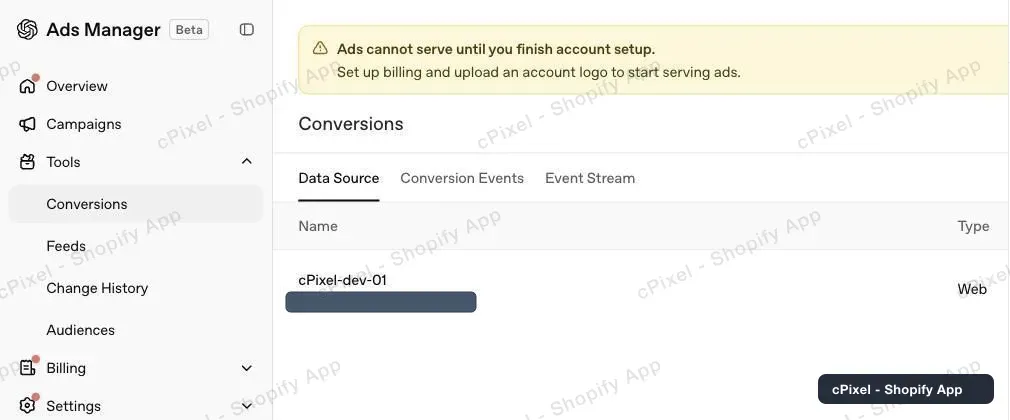
In OpenAI Ads Manager, open Tools → Conversions: on the Data Source tab, the grey ID under your data source’s name is the Pixel ID, not the ad account ID in your address bar.
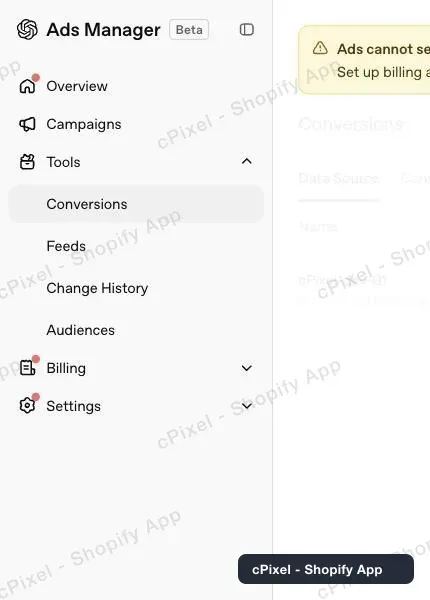
In the left-hand menu, expand Tools and choose Conversions.
On the Data Source tab, copy the grey ID, or create a data source if you have none.
How do I create a Conversions API key?
Click the key icon beside Warnings on the Conversions page, then Create new key. Copy the key, which begins sk-svcacct-, at once: OpenAI shows it only once.
Click the key icon. Conversion keys lists your keys masked; OpenAI never reveals an old one.
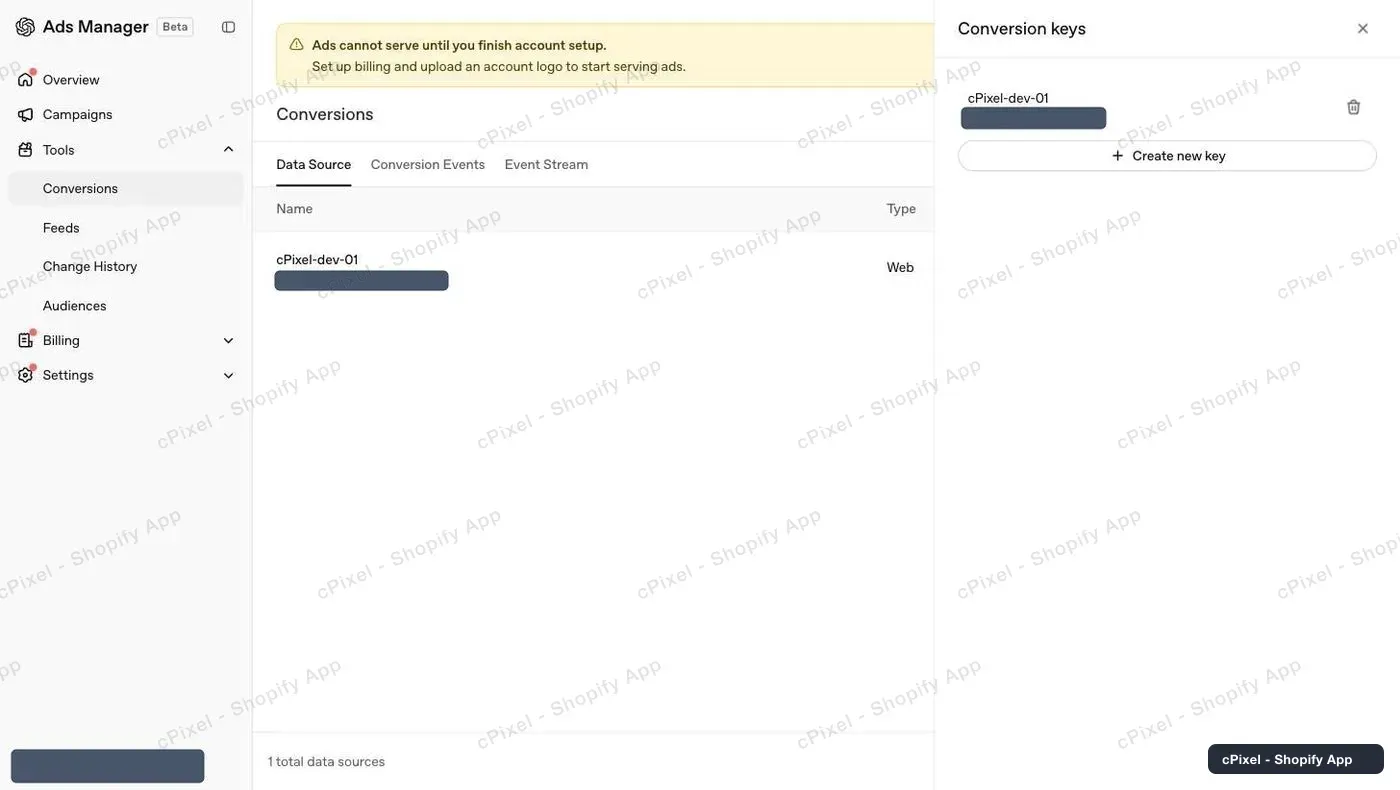
Click Create new key, name it and copy the key from Save your key before closing it.
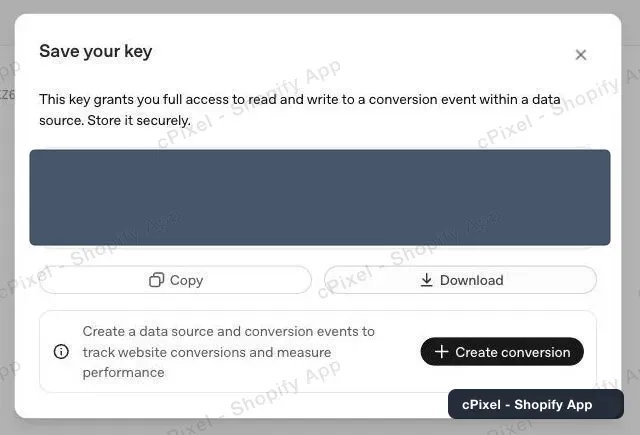
- Paste it into cPixel’s Conversions API key field.
Tip: Deleting a key revokes it at once, so create and paste the new key before deleting the old one.
Does “Ads cannot serve until you finish account setup” block this?
No. New accounts show it until billing and an account logo are set up; it gates ad delivery, not the Conversions API.
What does cPixel send to ChatGPT Ads?
Checkouts and purchases always go from cPixel’s servers, as checkout_started and order_created, because a theme can’t run on Shopify’s checkout or Thank you page. With the app embed on, a storefront tag adds page views, product views and add-to-carts (page_viewed, contents_viewed, items_added), so no event has two senders.
- If a shopper’s browser can’t load OpenAI’s tag, cPixel sends that storefront event from its servers with your key, never one the tag already sent. It can’t see OpenAI refuse a browser event.
- No payment-info event reaches OpenAI.
- Server sends carry hashed email, phone, customer and device IDs,
opprefandobref, IP address and user agent. OpenAI Ads needs marketing consent; cPixel never sends names or postal addresses. - OpenAI deduplicates on Pixel ID, event name and event ID, keeping the first copy, and accepts events up to 7 days old.
OpenAI Ads Manager scores each data source’s event quality daily. cPixel’s Event quality page doesn’t read that score, and its note that OpenAI publishes none is out of date.
What is oppref, and does cPixel send it?
oppref is the click reference OpenAI adds to your landing page’s address when someone clicks a ChatGPT ad. OpenAI uses it to connect a conversion to the click, with hashed contact details as the fallback. cPixel sends it with its server events whenever it has one.
- cPixel reads it from the address and, with the app embed on, from the
__opprefcookie OpenAI’s tag keeps on your domain, which survives a move betweenwwwand your bare domain. - OpenAI’s tag keeps that cookie for 30 days, restarting the count whenever oppref appears in the address again.
- OpenAI asks you to keep oppref through redirects: one that strips query parameters loses it.
How do I check it worked?
Start a session in Live and place a real order: the purchase’s Server row shows OpenAI’s reply, Accepted, Rejected or Error, with the HTTP status. Then check the Event Stream tab in Ads Manager.
- In cPixel, open Live and click Start session.
- In another tab, place a real order; cPixel skips test orders by default.
- Open the purchase’s Server row: OpenAI Ads should read Accepted. Storefront events show as Browser rows, without a reply.
- In Ads Manager, open Tools → Conversions, then the Event Stream tab. Storefront events arrive there too, never from checkout pages.
Destinations marks the account Verified after its first accepted server send. Attributed conversions reach OpenAI’s reports in 24 to 48 hours.
What if it doesn’t work?
If OpenAI rejects the key, cPixel marks the account Token invalid, stops its server sends and emails a critical alert to your store’s contact address; Home shows Fix OpenAI.
- Create a new key.
- Click Fix OpenAI on Home, or Manage beside the account on Destinations, and paste it over Saved — paste a new one to replace it. Test connection checks it.
- Click Continue, then Save and continue.
| What you see | What to do |
|---|---|
| Test connection: the platform rejected this token | The key was deleted or mistyped: create a new one |
| Conversions show 0 in Ads Manager | The campaign’s conversion goal must match the event sent, order_created for purchases (OpenAI) |
| Purchases counted twice | Another tool sends to this Pixel ID: one sender per pixel |
| A purchase shows Skipped in Live | Read its reason, then see purchases not showing |
Remove in Manage OpenAI Ads stops sends and deletes the stored key. OpenAI’s own documentation: Conversions API.
